Проблема: ползунок громкости не работает.
Это одна из самых известных проблем в версии macOS для Intel, когда ползунок громкости, управляющий уровнем звука, просто не работает и ведёт себя как переключатель (это затрагивает большинство реплик, хотя некоторые не подвержены проблеме). Поскольку Apple вряд ли займётся этой проблемой, мы можем обойти её с помощью инструмента с открытым исходным кодом.
WARNING
Это руководство предназначено для пользователей Mac на базе Intel (i3, i5, i7; не для чипов M series). Если ваш Mac на Apple Silicon (M series chip) не воспроизводит звук с текущими AirReps, посмотрите раздел Распространённые ошибки.
Требования
Перед началом убедитесь, что:
- У вас есть доступ
sudo(ваша учётная запись macOS должна иметь права администратора) - Установлен пакетный менеджер
brew(если нет, следуйте этому разделу)
TIP
PS: использование brew значительно проще, чем ручная установка, но если вы хотите обойтись без brew, вы можете прочитать это и следовать шагам здесь.
Установка brew
Если у вас ещё не установлен brew, начнём отсюда. Перейдите на эту страницу, скопируйте команду и выполните её в Терминале.
WARNING
Возможно, система запросит ваш пароль — введите его как обычно (пароль может выглядеть так, будто скрыт, но в этом случае он не скрыт).
Установка
Загрузка
Когда всё готово, откройте Терминал и выполните команду: brew install --cask proxy-audio-device
TIP
Во время установки нормально, если звук системы немного прервётся. Выполняйте это, когда никакой аудио не воспроизводится и никакие программы для редактирования звука не запущены.
Настройка
- Откройте Launchpad и запустите только что установленное приложение
Proxy Audio Device Settings, чтобы начать настройку. Оно будет выглядеть примерно так:
![]()
- После открытия появится окно, похожее на это.

Не закрывайте это руководство — большинство пользователей настраивают его так:
Proxy device name: Имя выхода; можно оставить как есть.Proxied device: Источник звука (выберите имя вашего AirRep)Buffer size: Время, выделяемое macOS на обработку звука (упрощённо) (пожалуйста, оставьте как есть, 512 подходит большинству пользователей)Proxy device is active: Как программа ведёт себя в фоновом режиме. Здесь всё немного сложнее, но сводится к таким вариантам:- Если вас не пугают обрывы звука (короткие звуки), выберите
When proxied device is active - Для большинства пользователей —
When user is not idle - Для тех, кто хочет стабильный звук (например, для игр) —
Always.
- Если вас не пугают обрывы звука (короткие звуки), выберите
- Наконец, откройте Control Center > Sound > иконку ">", и выберите только что созданное аудиоустройство (
Proxy Audio Deviceпо умолчанию).
Побочные эффекты
Хотя обычно всё работает нормально, у некоторых пользователей могут возникнуть следующие проблемы:
Нет значка "Sounds" на верхней панели
К сожалению, придётся использовать Control Center для управления звуком (или сочетание клавиш).
Нет звука при отключении
Приложение настроено так, что постоянно подключается к выбранному устройству. Вам нужно вручную снова выбрать "Internal Speaker".
Шумы/хлопки или звук в одном канале
Избежать этого можно, увеличив Buffer size или установив Always в опции Proxy device is active приложения.
Удаление
Если вы хотите удалить приложение, выполните в Терминале команду:
brew remove --cask proxy-audio-device
...затем перезагрузите систему.
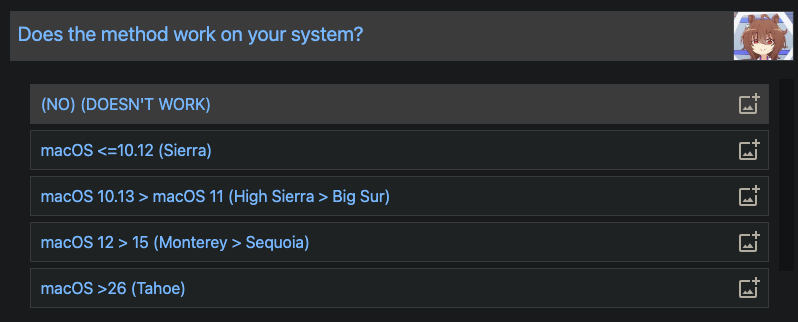
Необязательно: опрос
Я создал опрос здесь, чтобы понять, действительно ли этот обходной путь работает. Это очень просто, и он помогает получить полную картину. Буду признателен, если вы поделитесь своим мнением!