The Problem: Volume Slider Bar won't work.
This is one of the most well-known problems on the Intel version of macOS, where the volume slider bar that controls audio volume simply won't work, but only acts as a switch (it affects most replicas, though some are unaffected). While Apple themselves would never look into the problem, we can circumvent this with an open sourced tool.
WARNING
This guide is meant for those that have Intel-based Macs (i3, i5, i7; not M series chip). If your Apple Silicon (M series chip) Mac won't play audio with your current AirReps, check out the Common Bugs section.
Prerequisite
Before the tutorial, please make sure that you:
- Have
sudoaccess (your macOS account must have administrative access) - Have the
brewpackage installer (if not, follow this section)
TIP
PS: using brew is much easier than manual installation, but if you want to skip using brew, you can read this and follow the steps here.
brew Installation
If you haven't got brew installed on your system, we can start here. Enter this page, copy the command and run it in Terminal.
WARNING
You might be prompted to enter your password, go ahead and enter your password as usual (your password might look like it's hidden, but it's not in this case).
Installation
Download
Once everything is ready, you can start by opening Terminal, then run the following command: brew install --cask proxy-audio-device
TIP
While installing, it's normal for the system audio to glitch a little. So do this while no audio is playing or being edited (no audio-manipulation software running).
Setting Up
- Navigate to Launchpad, run the newly installed
Proxy Audio Device Settingsto begin the setup process, it will look something like this:
![]()
- Once open, a window will show up like so.

Don't be tempted to click off this tutorial, most people like you can set them up like so:
Proxy device name: Name of the output; you can leave it as is.Proxied device: Audio source (select your AirRep's name)Buffer size: Permitted time for macOS to process audio (oversimplified) (please leave it as is, as 512 is sufficient for most users)Proxy device is active: How the software works in the background. This is where it gets tricky, but it boils down to these options:- If you don't mind the audio cutting off (short-duration sounds), pick
When proxied device is active - For most people, pick
When user is not idle - For people who want consistent audio, or gaming, pick
Always.
- If you don't mind the audio cutting off (short-duration sounds), pick
- Finally, navigate to Control Center > Sound > the ">" icon, and pick the newly created audio device (
Proxy Audio Deviceby default).
Side-effects
While it is fine to use most of the time, some users might face these issues:
No "Sounds" icon on the top bar
Unfortunately, you have to navigate to Control Center to control the audio (or use a keyboard shortcut).
No audio when disconnected
The app is only designed to always hook on the picked device. You have to manually re-select "Internal Speaker".
Crack/pop or one-sided audio
You can get around this by increasing the buffer size, or picking Always in the Proxy device is active option of the app.
Uninstalling
If you wish to remove the app, you can simply run this command in the Terminal:
brew remove --cask proxy-audio-device
...then restart your system.
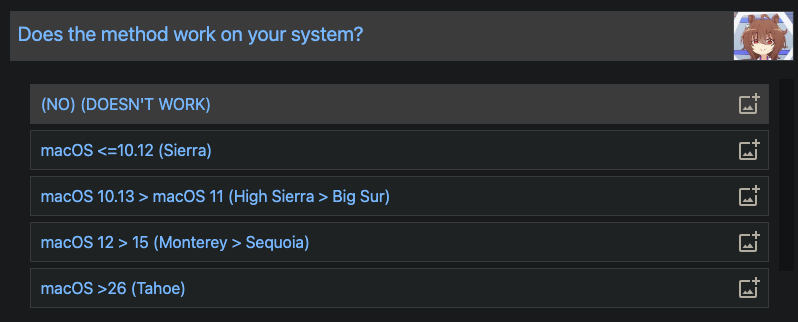
Optional: Survey
I've made a poll here to figure out if this workaround is actually working. It's incredibly simple to do, and it helps a lot to get a full picture of this workaround. I'd really appreciate it if you shared your thoughts!